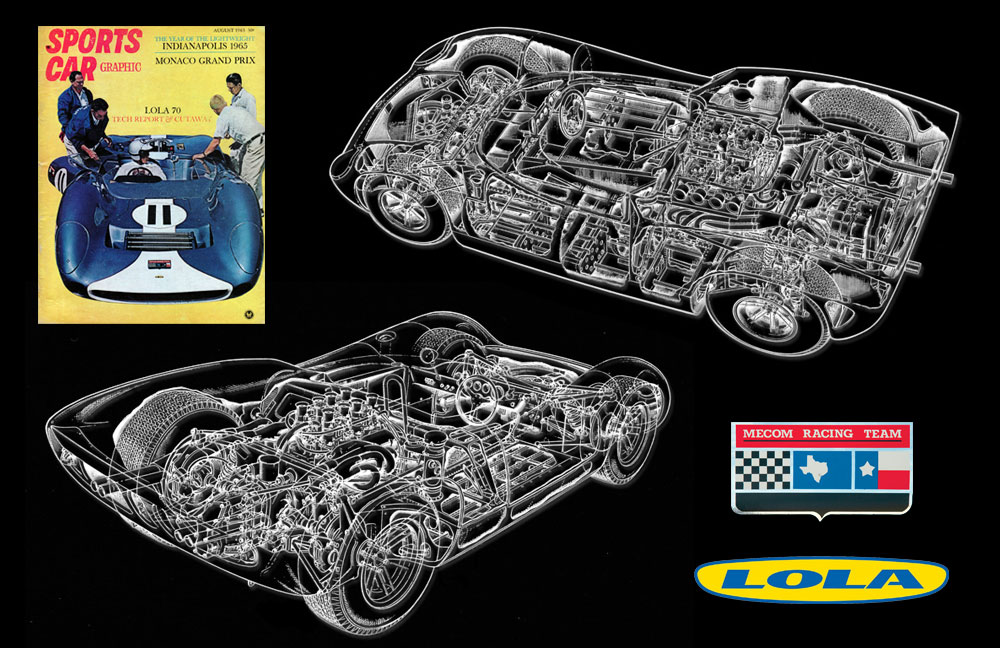
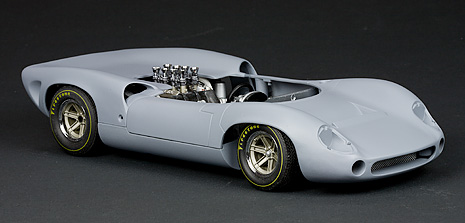
The basic model is the GMP Lola T70. The goal is to repaint the model into the colors of the first Lola that I remember driven by Walt Hansgen. These were the days of Road America and the duels with the early Chaparrals. I remember building the old IMC plastic kit when I was young. I have included some reference photos here.
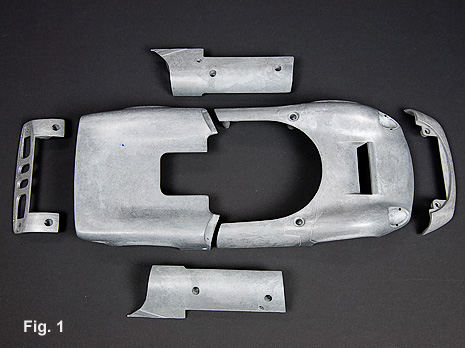
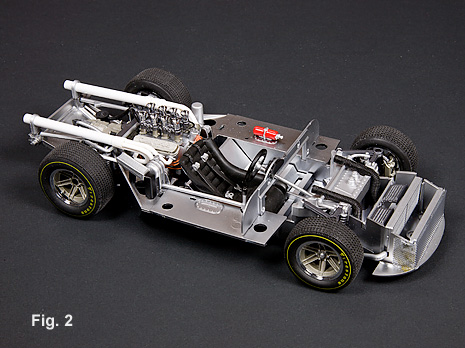
The first order of the makeover was to remove the bodywork. All the plastic was removed and the body stripped down to bare metal, Fig. 1. The suspension parts were “adjusted” and more securely fixed to place so that all 4 wheels sat squarely on a flat surface, Fig. 2.
One of the weak points of the model is the plastic frame/pan, Fig. 3. The plastic is really inadequate for the support of the heavy rear body part. This results in a hit-and-miss fit of the rear bodywork with some models.
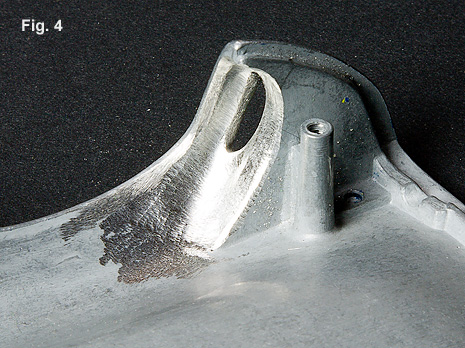
Modification to the rear bodywork began by the removal of a significant portion of material from the inside rear of the fender. Enough material was removed to open through to the rear fender vent. Once the vent was opened, it became possible to remove additional material to achieve more prototypical thicknesses, Fig. 4.
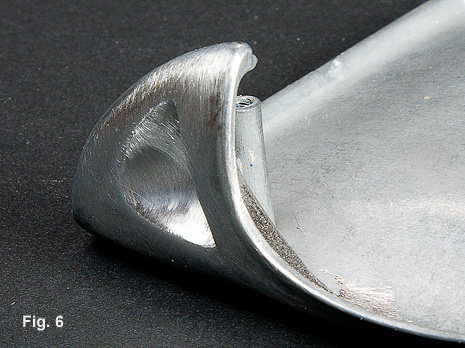
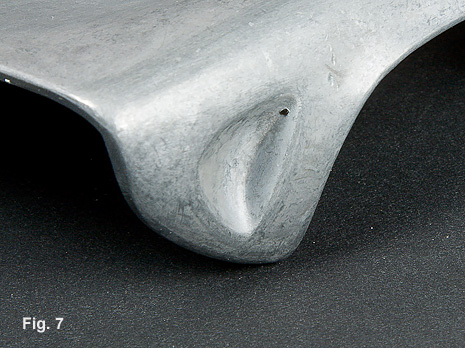
A prototypical lip thickness was shaped around the rear wheel cutout (before and after), Figs. 5, 6. The rear fender duct was opened up (before and after), Figs. 7 and 8.
The way the model is designed, the endplate of the rear bodywork is mounted first and then the rest of the rear bodywork is screwed into the endplate. This results in a toy-like seam. In order to fill the seam, the body work has to be removable without disassembly. A slot was cut into the mounting bracket for the rear bodywork. This allows the bodywork to be removed easily from the chassis, Fig. 9. Now the seam, spoiler mounting holes and screw holes can be filled (all indicated with red arrows), Fig 10.
The rear fender inlet is a bit clunky in the stock model, so a little thinning and radiusing makes an improvement.
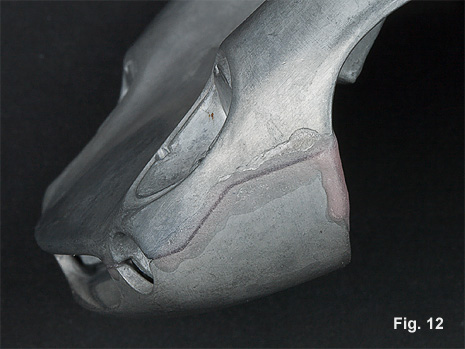
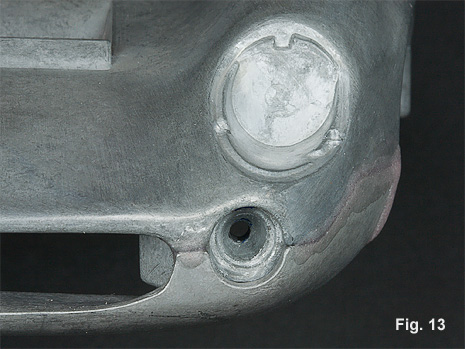
The nose of the model is done in several pieces. This results in an unsightly seam. In addition, the round openings on either side of the radiator inlet are not really round or well defined. I filled the joints and oversized the round openings. Brass tubing was fit into the openings and contoured, Figs. 12 – 14.
The rear body section sits a bit high which results in an unsightly step between the door and the rear section. I removed some metal in the area indicated with the red line in figure 15. This brought everything into better alignment, however there was still a significant space between the two sections when the wheel well area was aligned (green line), Fig. 15. Additional material was added to the end of the door panel. I use a mixture of dental acrylic resin and cyanoacylate cement (for an explanation of the material, look here). Bare Metal Foil was used to keep the mixture from adhering to the other body panels. The excess material was reduced, Fig. 16.
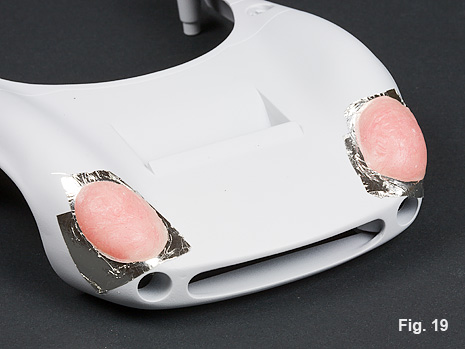
I couldn’t get the stock lenses to look quite right and because they were painted over, I thought it would be easier to just make some. The area was lined with Bare Metal Foil and dental acrylic resin was used to build up the area, Fig 19. The excess material was removed and contoured to exactly match the fenders. Everything was then primered over, Fig. 20. The lenses were popped out and trimmed, Fig. 21. The lenses were finally cemented to place and the nose given a final coat of primer, Fig. 22.